Manual/Advanced Mesh Tools
From BlenderWiki
Editor's Note: this is more of a tutorial than a user manual, but we don't have anything else at the moment that covers the topic.--Roger 02:17, 29 May 2007 (CEST)
Contents[hide] |
Advanced Mesh Modelling
Symmetrical Modelling
You often need to model objects which exhibit some sort of symmetry.
For radial, rotational or multiple symmetry the best approach is to
carefully model one base structure and then, as a last step, duplicate
the base cell via SpinDup or whichever command is most appropriate. For
objects with bilateral symmetry, those with one plane of symmetry, such
as most animals (humans included) and many machines, the above method
implies modelling one half of the object, and then mirroring a
duplicate of the first half to get the whole object. Since it is
usually difficult to attain correct proportions by only modelling a
half, it is possible to duplicate the half before it is completely
modelled, and act on one half and automatically update the other.
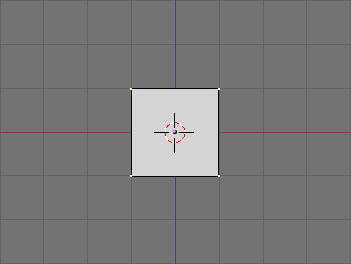
In Front View add a plane or whatever (A plane.). Consider it
as a starting point for one half of the object. Let's say the object's
right half, which for us in frontal view is on the left of the screen.
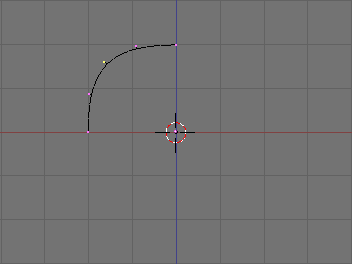
The plane of symmetry is the yz plane. Move the mesh, in EditMode, so
that it is completely on the left of center. Delete some nodes, and add
some others, to give it its general shape, as in Right half..
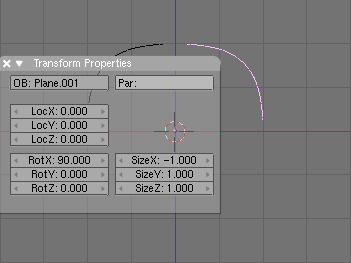
Now switch to ObjectMode and, with the half selected, make a linked duplicate with Alt D. Press ESC to exit from Grab Mode and press N. In the Numeric input panel which appears, set SizeX to -1 (Mirroring the linked duplicate.).
This effectively mirrors the linked duplicate with respect to the
Object's center, hence the importance of keeping the center on the
plane of symmetry.
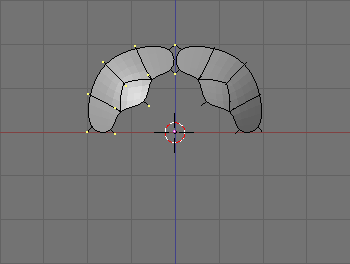
Having duplicated the Object as a linked duplicate implies that the two objects share the same
mesh data, which is implicitly mirrored by the unitary negative scaling
along the x axis, which is normal to the symmetry plane. Now you can
edit either of the two halves. Since they share mesh data any change,
be it an extrude, delete, face loop cut etc... immediately reflects on
the other side (Editing one half.).
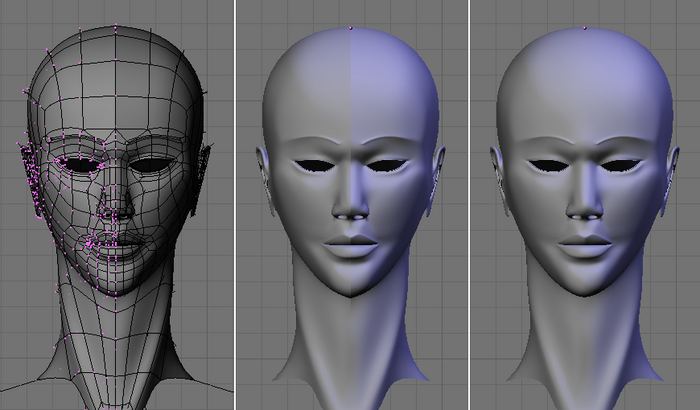
By carefully editing one half, and possibly by using a blueprint as a
background to provide guidelines, very interesting results can be
achieved (A head. Left: EditMode; Center: ObjectMode; Right: Joined., left).
As a final step, when symmetrical modelling is complete, the two halves must be selected and joined into a single Object (Ctrl J). This makes the seam (very visible in A head. Left: EditMode; Center: ObjectMode; Right: Joined., center) disappear. Once you have a single object (A head. Left: EditMode; Center: ObjectMode; Right: Joined., right), you can start modelling the subtle asymmetries which every being has.
| Note:
In Blender 2.33 and earlier versions the OpenGL implementation causes mirrored linked duplicates to have wrong normals, so that one of the two halves is black. This is fixed in Blender 2.34, but older versions can use this technique anyway by setting the mesh to single sided while symmetrical modelling is used. |
Noise
The Noise function allows you to displace vertices in meshes based on the grey-values of a texture applied to it. That way you can generate great landscapes or carve text into meshes.
Subdivide
Add a plane and subdivide it at least five times. To do that you can either use the Subdivide or Subdivide Multi entry in the Specials menu accessed via the W; see (Subdivide tool). Using Subdivide Multi is faster and easier. Select Subdivide Multi and enter 5 for the number of cuts popup dialog.
Now add a material and assign a Clouds texture to it. Adjust the NoiseSize: to 0.500. Choose white as the color for the material and black as the texture color, to give us good contrast for the noise operation.
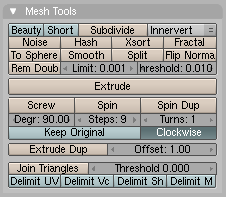
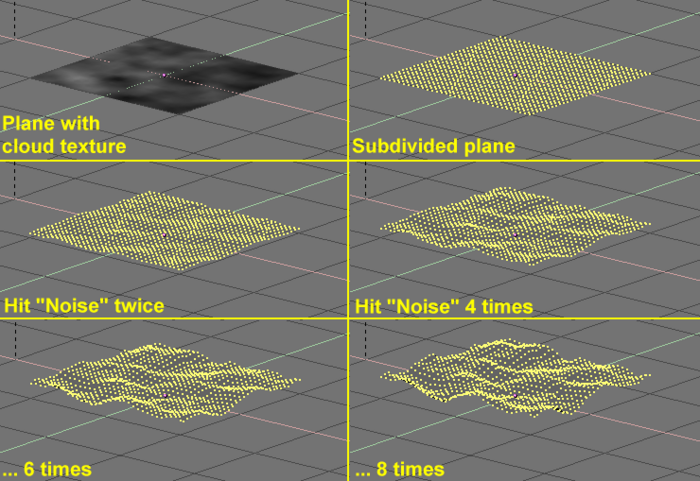
Ensure that you are in EditMode and that all vertices are selected, then switch to the Editing Context F9. Press the Noise button in the Mesh Tools Panel (Noise button in EditButtons) several times until the landscape looks nice. (Noise application process)
is an example of applying the noise tool. From top left to bottom
right: Plane with texture, sub-divided plane, "Noise" button hit 2, 4,
6 and 8 times. shows the original - textured - plane as well as what happens as you press Noise.
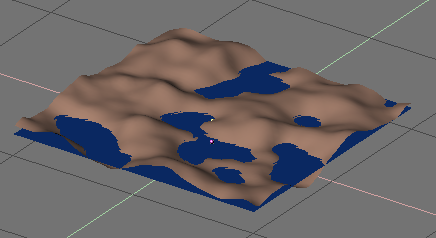
Remove the texture from the landscape now because it will disturb the look. Then add some lights, some water, set smooth and SubSurf the terrain, and so on. (Noise generated landscape).
| Note: The noise displacement always occurs along the mesh's z coordinate, which is along the direction of the z axis of the Object local reference. |
|
Categories: Blender 2.4 | Meshes | Tools
