Manual/Proportional Edit
From BlenderWiki
Contents[hide] |
Proportional Edit
Mode: Edit Mode
Hotkey: O / Alt O / Shift O
Menu: Mesh → Proportional Editing
When working with dense geometry, it can become difficult to make
subtle adjustments to the vertices without causing nasty lumps and
creases in the model's surface. When you face situations like these,
use the proportional editing tool. It acts like a magnet to smoothly
deform the surface of the model, without creating lumps and creases, by
also modifying unselected vertices within a given range, not just the
selected vertices.
| Sculpting: Blender offers a complete Sculpt Mode which contains a set of brushes and tools for proportionally editing a mesh without seeing the individual vertices. |
Options
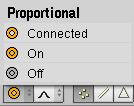
The Proportional Editing mode menu is available in Edit Mode on the 3D View header
- Off
- O. Proportional Editing is Off, only selected vertices will be affected.
- On
- O or Alt O. Vertices other than the selected vertex are affected, within a defined radius.
- Connected
- Alt O. Rather than using a radius only, the proportional falloff propagates through connected geometry. This means that you can easily proportionally edit the vertices in a finger of a hand, without affecting the other fingers, since although the other vertices are nearby spatially, they are far away following the topological edge connections of the mesh. The icon will be cleared, (grey), in the center when Connected is active.
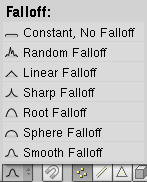
- Falloff
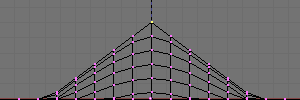
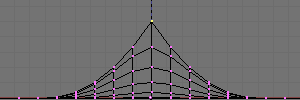
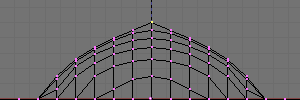
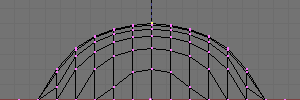
- While you are editing, you can can change the curve profile used by either using the Mesh → Proportional Falloff submenu, using the toolbar icon Falloff Menu. or by pressing Shift O to toggle between the various options.
- Influence
- You can increase or decrease the radius of the proportional editing influence with the mouse wheel MW
 or Page Up and Page Down respectively. As you change the radius, the points surrounding your selection will adjust their positions accordingly.
Examples
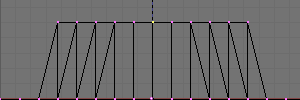
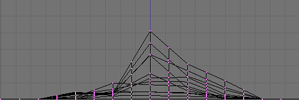
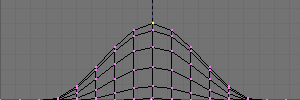
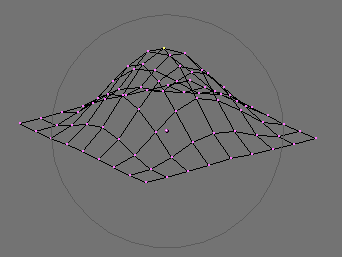
Switch to a front view (NumPad 1) and activate the grab tool with G.
As you drag the point upwards, notice how nearby vertices are dragged
along with it. When you are satisfied with the placement, press LMB ![]() to fix the position. If you are not satisfied, cancel the operation and revert your mesh to the way it looked before with RMB
to fix the position. If you are not satisfied, cancel the operation and revert your mesh to the way it looked before with RMB ![]() or Esc key.
or Esc key.
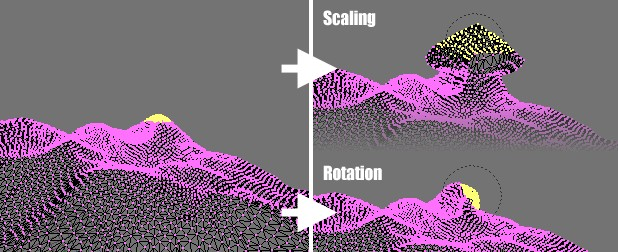
You can use the proportional editing tool to produce great effects with the scaling (S) and rotation (R) tools, as A landscape obtained via Proportional Editing shows.
Combine these techniques with vertex painting to create fantastic landscapes. Final rendered landscape shows the results of proportional editing after the application of textures and lighting.
|
